Having a backyard cold plunge pool doesn’t need to be just a dream. Just imagine you, dipping into the icy coolness right in the comfort of your own backyard whenever you please. The article “Creating A DIY Backyard Cold Plunge Pool” will guide you through the necessary steps and let you in on handy tips to build your own plunge pool. No complicated instructions, just straightforward advice that will have you on your way to creating a refreshing retreat in no time. Be prepared for a fun and rewarding project that will surely elevate your lifestyle and overall well-being.

Choosing the Location
When planning to build your DIY backyard cold plunge pool, the first crucial step is choosing the right location. You want to select a spot that’s flat, with good access and adequate sunlight. Consider how the pool will align with the rest of your landscape, as well as how you’ll access it from your home. Don’t forget about privacy; it’s essential to feel comfortable while using your cold plunge pool. If you have overhanging trees, you might want to reconsider your location to avoid debris falling into your pool.
Determining the Size
Now, it’s time to determine the size of your cold plunge pool. This will largely depend on the space available in your backyard. In general, a small to medium-sized plunge pool is sufficient for most homeowners. Remember, you’re typically not swimming laps in a cold plunge pool; it’s mainly used for quick dips to cool off and revitalise your body. However, the size should ideally be big enough to comfortably accommodate your whole body.
Gathering Materials
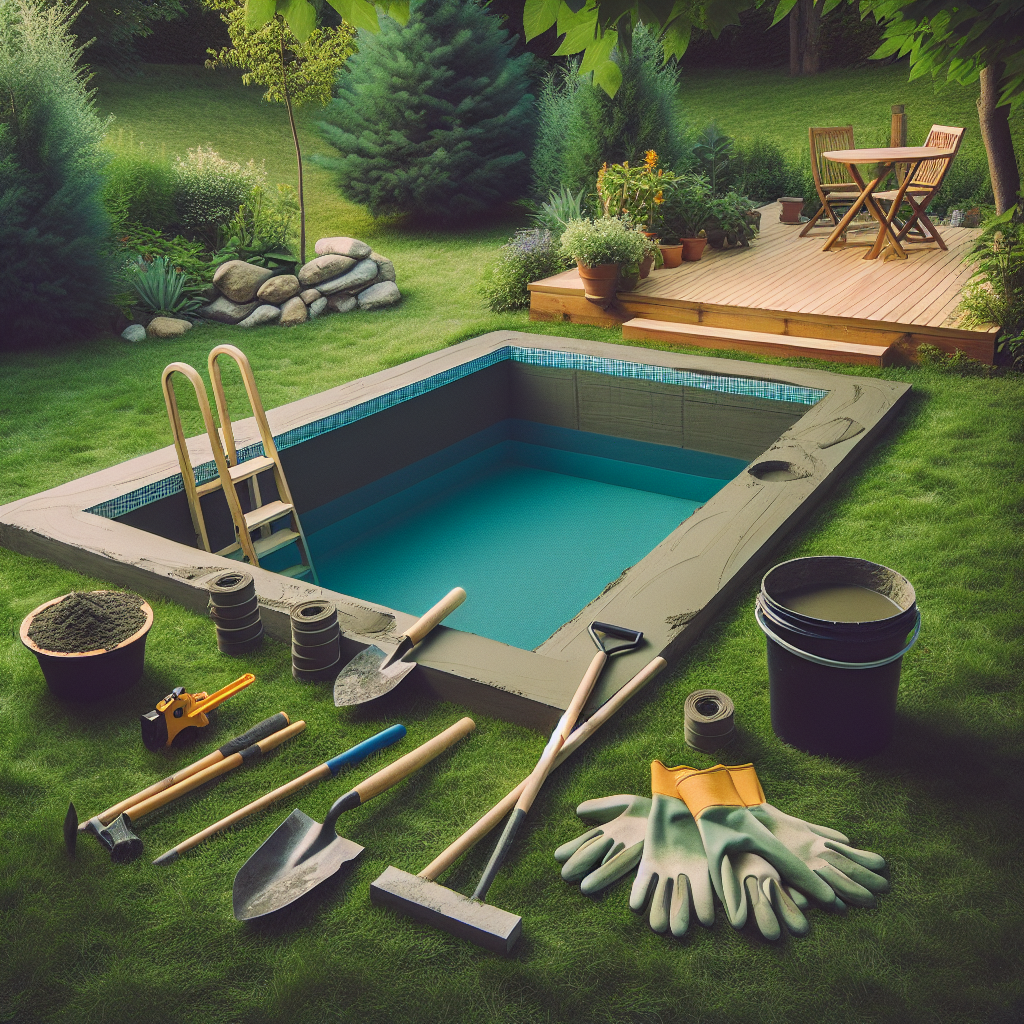
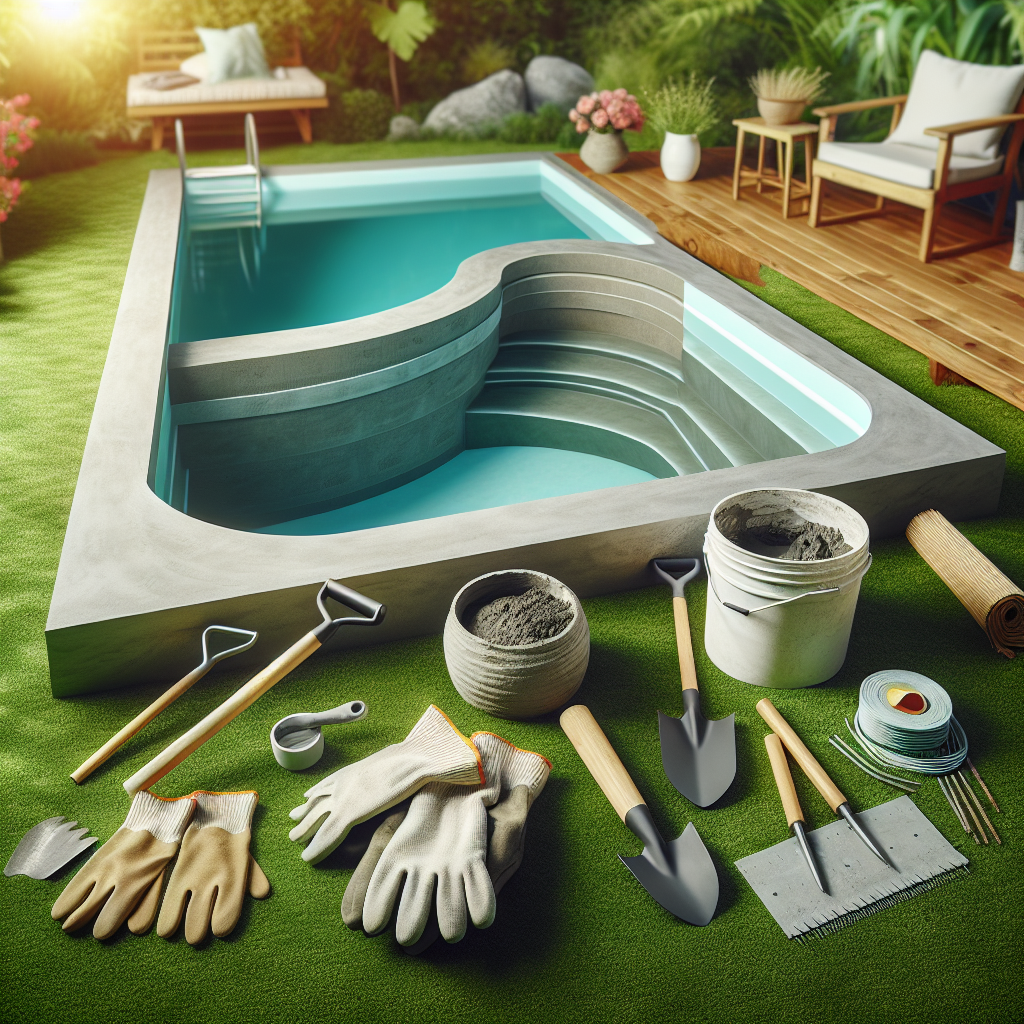
The next step in creating your backyard cold plunge pool involves gathering your materials. For your DIY Cold Plunge, make a list of everything you need and check it twice; it’s much easier to gather everything you need now rather than needing to stop work to fetch something later. Here are some materials you would typically need: a sturdy liner, sand, piping for the plumbing, a pump, a filter, possibly a heater (if you are planning to control the water temperature), and decorations for creating an aesthetic surrounding.

Excavating the Pool Area
Once you’ve selected your location and gathered all your materials for your DIY cold plunge, the real work begins with excavating the area for your cold plunge pool. You can rent a mini excavator or hire a local excavator to speed up the process. Measure out the dimensions according to the size you determined earlier. Make sure to dig a little extra to accommodate the pool liner and a layer of sand underneath. Safety comes first — always secure the sides while you’re digging to prevent them from collapsing.
Lining the Pool
After the hole is dug, it’s time to line the pool. Start by laying down a thick layer of sand at the bottom to provide a smooth, comfortable surface for your feet and to protect the liner from sharp objects. Then install the pool liner, ensuring it covers the entire pool floor and sidewalls. The liner’s job is to hold the water in your pool and to provide a durable surface that will withstand the pressure of the water and wear and tear from pool usage.
Installing the Plumbing System
Installing the plumbing system might sound daunting, but with a bit of planning, it’s quite straightforward to create a diy cold plunge plumbing system. You will need a pump and pipes to circulate the water. The circulation of the water is what will keep your cold plunge pool fresh, by physically removing debris and keeping the chemicals mixed. You’ll have an intake pipe that pulls water from your pool into the pump and then an outlet pipe that returns the filtered, clean water back into your pool.
Adding the Filtration System
The filtration system is an important part of keeping your plunge pool clean and clear. It works with the plumbing system to remove debris and impurities from the water. Your choice of filtration system will depend on your needs and budget. Sand filters, cartridge filters, and diatomaceous earth filters are the most common types of pool filters. After installation, you will need to ‘prime’ or ‘charge’ the filter with the appropriate medium.
Filling and Treating the Water
Now, it’s time for the moment you’ve been waiting for — filling your plunge pool with water. You can use a garden hose for this purpose. While the pool is filling, you can begin treating the water with the necessary chemicals to maintain pH and chlorine levels. Test strips can easily determine these levels. Remember that water balance is essential to upkeep the pool’s cleanliness and your own comfort. Diy cold plunge is not just a one time things. You need some DIY maintenance!
Building Surrounding Structures
Once your plunge pool is ready, consider developing the overall look and feel of your pool area. Consider features like decking, landscaping, or installing a gazebo or pergola. Perhaps add some comfortable outdoor furniture or loungers. You could also add a path from your backdoor to the pool for easy access. The surrounding structures will bring a complete and polished look to your backyard oasis.
Maintaining the DYI Cold Plunge Pool
Like any pool, your cold plunge pool will need regular maintenance to stay in good shape. Regular cleaning, treating water, and running the filter system will be part of your routine. Consider draining and replacing your water depending on usage and water condition. Monitor your filtration system and backwash or replace filters as necessary. Regular maintenance will keep your cold plunge pool a fun, safe, and relaxing place for years to come.
So there you have it! By following these steps, you can build your very own backyard cold plunge pool. Happy building!
